How to Prepare Your Home for Window Replacement

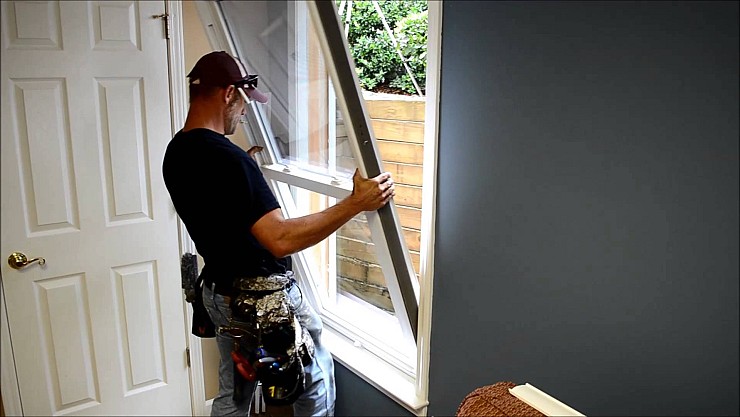
Replacing your windows can be an exciting home improvement project, offering better energy efficiency, improved insulation, and an updated aesthetic. But to make the process smooth and hassle-free, it’s essential to prepare your home in advance. Here’s a step-by-step guide on how to ready your home for window replacement so you can enjoy the results without stress or disruption.
Why Prepare for a Window Replacement Project?
Preparing your home in advance for a window replacement project is as important as choosing the right windows. Here’s why a well-prepared home is critical:
Efficiency: When installers have unobstructed access to your windows, the project moves faster and stays on schedule.
Protection: Your belongings, flooring, and walls are safeguarded from dust, debris, and accidental damage.
Safety: With sharp tools and heavy glass in use, a safe environment minimizes risks for both the installation team and your family, including pets and children.
Pre-Installation Preparations
The days leading up to your window installation are the best time to make small adjustments around the house. Here’s what to take care of:
1. Clear Access Paths
Your installation team will need ample space to maneuver tools and ladders, so start by clearing pathways leading to each window. Move furniture, wall art, decorations, and any breakable or valuable items that could be in the way. Roll up rugs and remove floor mats in heavily trafficked areas to prevent trips and protect them from dirt and dust. Consider where your installers may need extra space, especially in rooms with multiple windows, and prepare accordingly.
2. Take Down Window Treatments and Fixtures
Window treatments like blinds, curtains, and shades should be removed before installation day. Make sure to also take down curtain rods, hooks, and any additional hardware attached to or near the window frame, as these can obstruct the installation process and may get damaged. Store these items safely to avoid dust or accidental breakage.
Protecting Your Home’s Interior
Window installation can be a messy process, so protecting your home’s interior is essential. Here are a few tips:
1. Cover Floors and Furniture

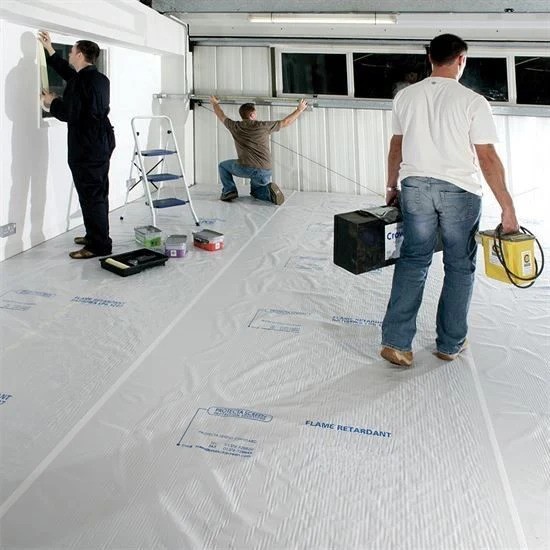
To safeguard your flooring and furniture, use drop cloths, plastic sheets, or tarps. Large furniture that cannot be easily moved can be protected by covering it with sheets or blankets, particularly items near the work zones. Protecting these surfaces prevents not only dust accumulation but also accidental spills, paint drips, and minor scratches.
2. Manage Dust and Debris
Installing windows can create significant dust and debris, especially if old windows are being removed. To minimize cleanup and prevent dust from spreading throughout your home, try these tips:
Close Doors to Other Rooms: Contain dust by keeping doors to other rooms closed.
Cover HVAC Vents: Seal off vents with plastic wrap or cloth to prevent dust from entering your ventilation system.
Use Towels or Damp Cloths at Doorways: This simple trick can help trap dust and stop it from traveling to other rooms.
Creating a Safe Environment
Window replacement work involves noise, debris, and equipment that can be hazardous to pets and children. Here’s how to create a safe environment:
1. Ensure Pet and Child Safety
Children and pets are naturally curious, which can put them at risk during window installation. Consider arranging for childcare or pet care on installation day, or create a secure area away from the work zones. If needed, designate specific rooms as “safe zones” where children or pets can stay comfortably without interference from the work process. Letting them know the schedule can also help manage expectations.
2. Set Up Temporary Work Zones
For families working from home, the noise and disruption may be challenging to work around. Set up temporary workspaces or areas where family members can stay productive or comfortable without the distractions from installation work. Consider using rooms away from installation zones or wearing noise-canceling headphones.
Preparing the Exterior of Your Home
Exterior preparation is just as crucial as inside prep, especially when working with windows that open outward or are part of upper stories. Here’s what to keep in mind:
1. Trim Landscaping
Plants, bushes, or trees close to your windows should be trimmed to allow installers clear access to the work area. Low-hanging branches or overgrown shrubs can hinder the process and may be inadvertently damaged during the installation. This step not only ensures smooth installation but also protects your plants from unintended harm.
2. Remove Outdoor Furniture and Obstacles
Remove any outdoor furniture, decorations, or items like grills that are positioned near your windows. Relocate these items temporarily to provide a clean and unobstructed workspace for the installers, reducing the risk of accidental damage to your belongings.
Communicating with Your Installer
A successful window replacement project depends on clear and open communication. Here are some key topics to discuss with your installer:
1. Confirm the Timeline and Scope of Work
Before the project starts, ask your installer for a breakdown of the timeline, including how many windows they plan to replace each day. This gives you an idea of which rooms will be occupied and how to plan around the work zones. Discuss start and end times to know when to expect workers each day.
2. Clarify Cleanup and Disposal Responsibilities
Some installers provide cleanup and debris removal, while others may leave it to the homeowner. Be sure to confirm who will be responsible for taking out old windows and leftover materials, so you’re not left with an unexpected cleanup job afterward.
3. Verify Any Permit or Regulatory Requirements
Depending on your region or the scope of the project, some window replacement projects may require permits. Most contractors handle permits themselves, but double-checking ensures you’re in compliance and prevents any delays.
Preparing for the Day of Installation
On installation day, a few last-minute preparations can go a long way toward a smoother experience.
1. Prepare for Noise and Disruptions
Window replacement can be noisy due to drills, hammers, and other equipment. If possible, schedule tasks or meetings that don’t require quiet. Inform family members in advance about the potential noise levels and consider spending time in quieter areas of the house.
2. Be Available for Questions
Installers may need quick input on preferences or adjustments, such as frame color or placement details. Make yourself available in person or by phone to answer any questions, allowing the project to proceed without delays.
After Installation: Post-Installation Cleanup and Care

With your new windows in place, it’s time to wrap up and make your home comfortable again. Here are some final steps to take:
1. Inspect Each Window
After installation, do a thorough walkthrough with your installer to check each window. Ensure that they open, close, and lock smoothly and that caulking and seals are intact. Don’t hesitate to ask questions if anything doesn’t seem right, as installers can often address minor issues on the spot.
2. Remove Protective Coverings and Film
Some windows come with protective film or wrapping, which may still be in place post-installation. Carefully remove these coverings to avoid scratching or damaging the glass or frames. Be gentle, especially if the caulk is fresh, as excessive force can damage the seal.
3. Restore the Area
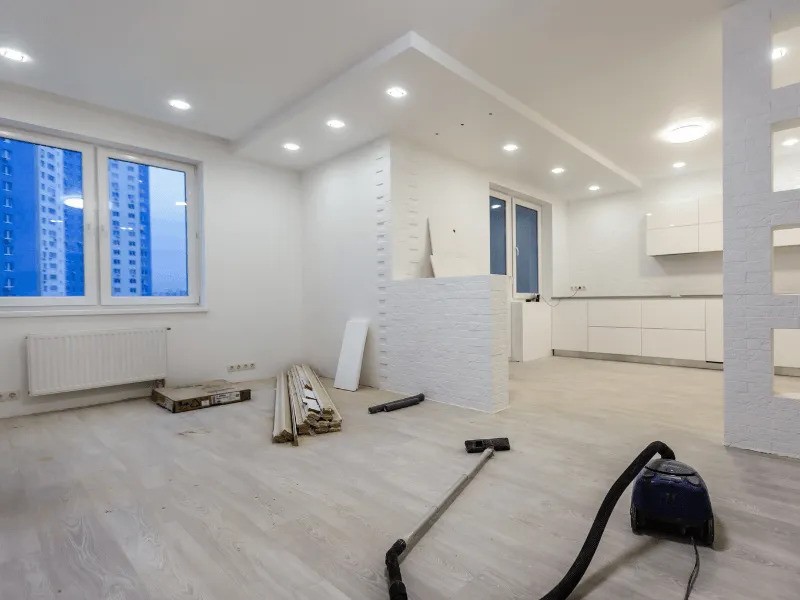
Now that the installation is complete, return your furniture, rugs, and decorations to their original locations. Remove any drop cloths, vacuum or sweep up dust, and wipe down surfaces to enjoy a clean and refreshed room. Consider applying window cleaner to get that brand-new sparkle!
Conclusion
Preparing your home for a window replacement project helps protect your belongings, create a safer environment, and streamline the process for everyone involved. By clearing access paths, covering furniture, managing dust, and communicating with your installer, you’re setting up for a smooth installation day and ensuring your new windows will be enjoyed with minimal disruption. For tailored advice or additional tips on window replacement, reach out to a trusted professional, and start enjoying the benefits of your upgraded windows right away!


